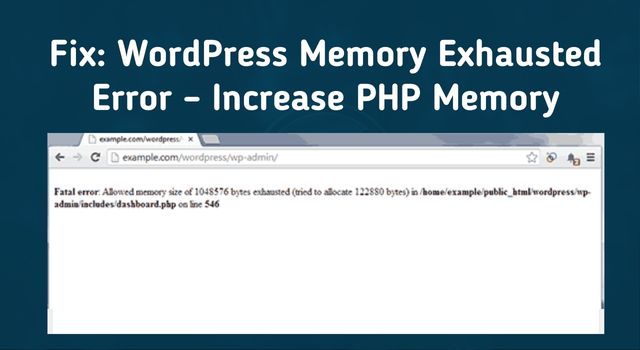
WordPress is a powerful and popular content management system (CMS) used by millions of people around the world to create and manage websites. However, one common issue that users may face when working with WordPress is the “memory exhausted” error. This error occurs when the PHP memory limit set for WordPress is exceeded, and it can cause the website to crash or become unresponsive.
If you’re experiencing the WordPress memory exhausted error, don’t worry – there are several ways to fix it. In this article, we’ll go over how to increase the PHP memory limit for your WordPress site, which is the most common solution.
Step 1: Determine the Current PHP Memory Limit
Before we can increase the PHP memory limit, we need to know what the current limit is. To do this, you can create a new PHP file and add the following code:
					<?php
phpinfo();
?>
Save the file as phpinfo.php and upload it to your website’s root directory. Then, access the file through your web browser (e.g. http://yourwebsite.com/phpinfo.php). This will display a page with detailed information about your PHP configuration, including the memory limit.
Look for the “memory_limit” setting, which will display the current PHP memory limit. It will likely be set to something like “64M” or “128M”.
Step 2: Increase the PHP Memory Limit
Now that we know the current PHP memory limit, we can increase it to prevent the memory exhausted error. There are several ways to do this, depending on your hosting environment and the level of access you have to your server.
Method 1: Edit the wp-config.php File
The simplest and most common way to increase the PHP memory limit is by editing the wp-config.php file. This file contains important configuration settings for your WordPress site, including the PHP memory limit.
To increase the PHP memory limit, open the wp-config.php file in a text editor and add the following code:
define( ‘WP_MEMORY_LIMIT’, ‘256M’ );
This code sets the PHP memory limit to 256 megabytes, but you can adjust the value to suit your needs. Save the file and upload it back to your server.
Method 2: Edit the .htaccess File
If you’re unable to edit the wp-config.php file, you can also increase the PHP memory limit by editing the .htaccess file. This file is used to configure Apache web servers and can be found in the root directory of your WordPress site.
To increase the PHP memory limit, add the following code to the .htaccess file:
php_value memory_limit 256M
Again, you can adjust the value to suit your needs. Save the file and upload it back to your server.
Method 3: Edit the php.ini File
If you have access to the server’s php.ini file, you can also increase the PHP memory limit by editing this file. The php.ini file is a configuration file for PHP and is typically located in the root directory of your server.
To increase the PHP memory limit, find the following line in the php.ini file:
memory_limit = 64M
Change the value to your desired memory limit (e.g. 256M) and save the file.
Step 3: Verify the New PHP Memory Limit
After increasing the PHP memory limit, you should verify that the new limit has been applied. You can do this by creating a new PHP file and adding the following code:
					<?php
echo 'Current PHP memory limit: ' . ini_get('memory_limit');
?>
Save the file and upload it to your server. Then, access the file through your web browser to see the current PHP memory limit.
Conclusion
The WordPress memory exhausted error can be frustrating, but increasing the PHP memory limit is a simple


1 Comment
Pingback: 5 Most Common WordPress Errors and How to Fix Them